

How Long Will Water Bath Canned Chicken Stock Ast
Making homemade bone broth is a delicious, healthy, and frugal way to extend the value of a whole chicken. Learning how to can bone broth at home means you'll always have broth on hand for soups, stews, gravies, and sauces. Not to mention you'll be saving about $4 a quart!
Learning how to pressure can is an amazing skill that every homesteader should learn. You can put up a large supply of food by simply learning to use a pressure canner (check out my FREE series!). It can be a bit daunting for the first time pressure canner user, so be sure to check out my tips on how to know if a canning recipe is safe.
If you're in the market for a pressure canner, here's how to choose the best one. And you may also want to check out the following posts for even more ideas and tips when it comes to safely canning food at home:
- 129+ Best Canning Recipes to Put Up This Year
- Canning 101: Pressure Canning vs. Water Bath Canning
- How to Store Home-Canned Food Safely
Need a Homemade Chicken Broth Recipe?
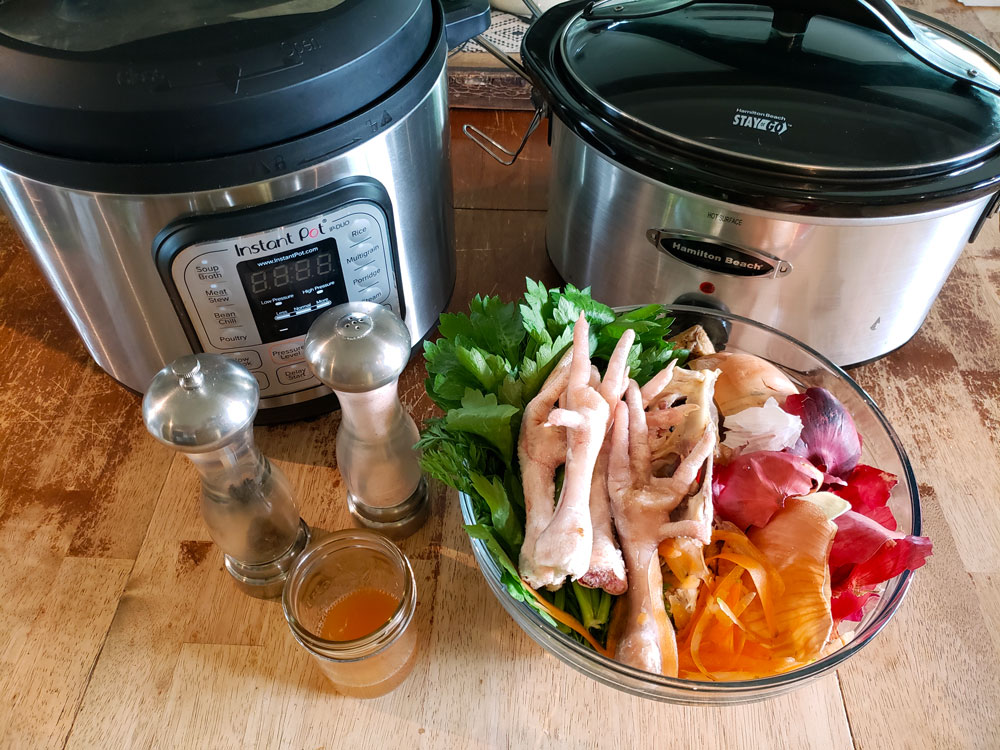
If you're looking for a good bone broth or chicken stock tutorial, be sure to check out my homemade chicken broth recipe. I use our pasture-raised meat chickens along with veggie scraps and my homemade apple cider vinegar, then cook them low and slow in the crockpot for up to 24 hours OR in the Instant Pot for 1 hour on high (this gets the best gel!) check out my video on How to Make Bone Broth in Instant Pot (FAST BONE BROTH)
Be Sure to Skim the Fat
Do not pressure can broth that has not had the fat removed. To do this easily, put your broth in the refrigerator overnight to chill.
This step is imperative! Chilling the broth is so the fat can float to the surface to be removed before canning (watch my video below!). If you don't skim the fat, your jars may not seal properly or reach a safe temperature to be shelf-stable.
Supplies Needed to Pressure Can Bone Broth
- Prepared, cooled and skimmed bone broth
- Pressure Canner
- Pint or Quart Jars and Lids (I buy my lids in bulk here)
- Canning Funnel
- Head Space Measurer
- Jar lifter
How to Pressure Can Bone Broth
As I mentioned earlier, you'll want to start with a fresh batch of homemade bone broth that has been chilled and the fat removed. For a delicious broth that gels every time, check out my homemade chicken broth recipe here.

Bring the bone broth up to a boil in a large stockpot.
You may be wondering if you can just put the cold broth into a jar and start pressure canning, but this is unsafe as all pressure canning times are tested with broth that is at the boiling point to ensure safe temperatures are reached.

While your broth is coming up to a boil, fill your pressure canner with a few inches of water (I fill mine to the bottom mark on the inside of the pot which is about 2-3 inches of water).
Next, wash all your canning jars in hot soapy water. There is no need to sterilize your jars here, just a simple wash will do. At the same time, go ahead and check the rims of your jars for any nicks or chips.
If there are any chips, discard the jar and grab a new one. Chips or nicks could prevent the jar from sealing properly and there's nothing worse than going through the entire canning process, only to realize your jar isn't actually shelf-stable.
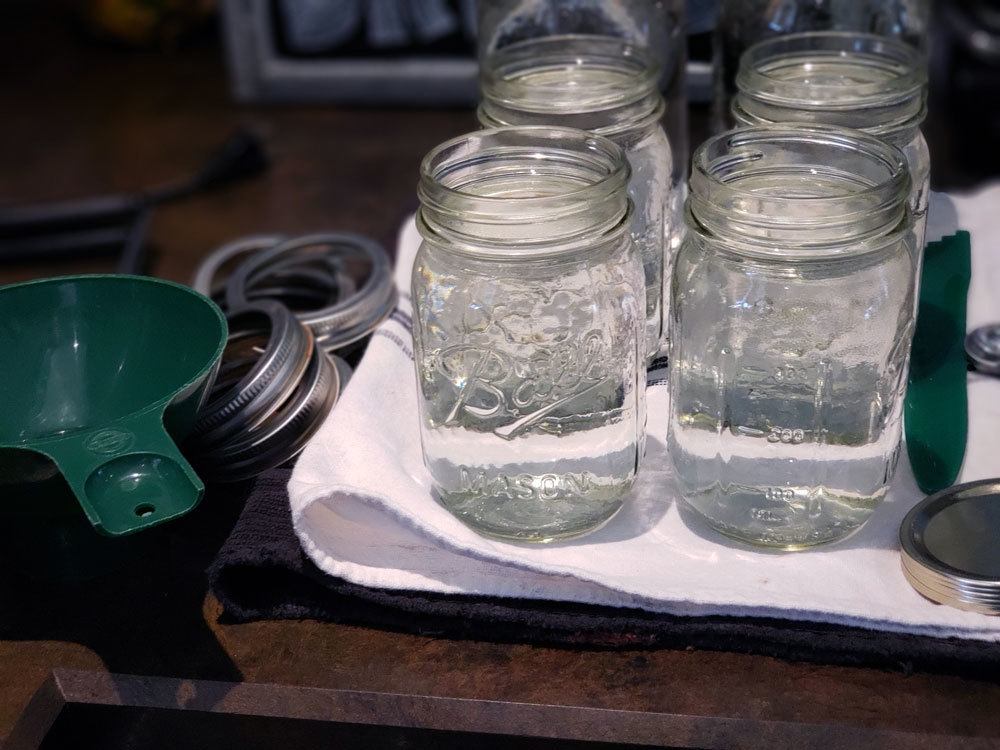
Once my jars are clean, I like to fill them with hot water and leave them until they're ready to be filled. This keeps the jars nice and warm so when I pour in my boiling broth, the temperature doesn't drop too much.
When you're ready to fill a jar, simply dump the water in the jar into the sink.
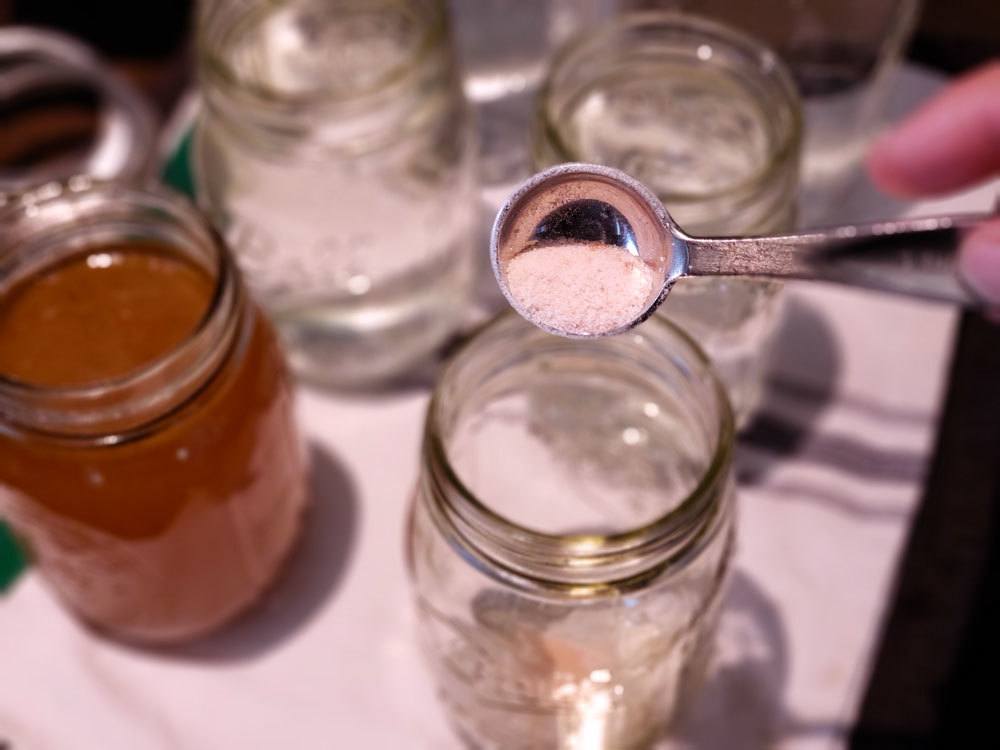
If you like your bone broth seasoned, go ahead and add in 1/2-1 teaspoon sea salt into each jar. Make sure you're using salt with no additives in it, I use Redmond's Real Salt for all my canning, fermenting, and cooking. Use this link to get 15% off your order (I order mine in the 10 lb bucket!).
This is optional and is simply for added flavor and minerals. If you seasoned your broth before cooking, this step should be omitted, or if you'd like a lower sodium broth, or you plan on seasoning your broth later on, just move on to the next step.

Ladle broth into each jar, filling to a one-inch head-space. (A canning funnel is really handy at this point!)
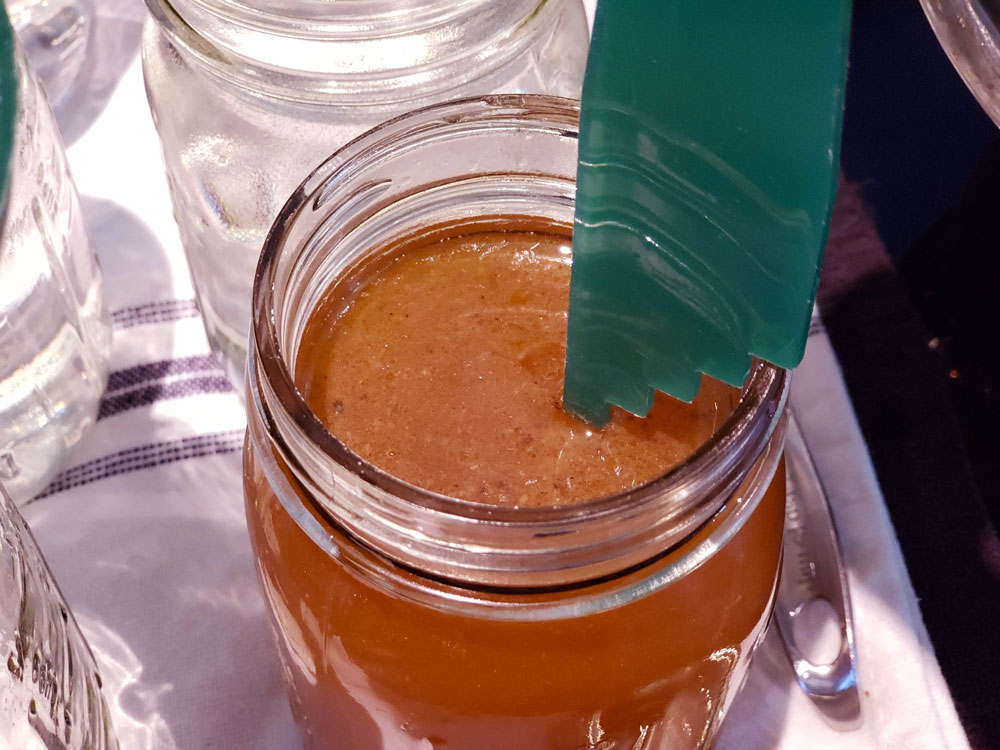
I also like to use this tool that helps measure head-space. You can pick up a pack of canning tool supplies very inexpensively right here.
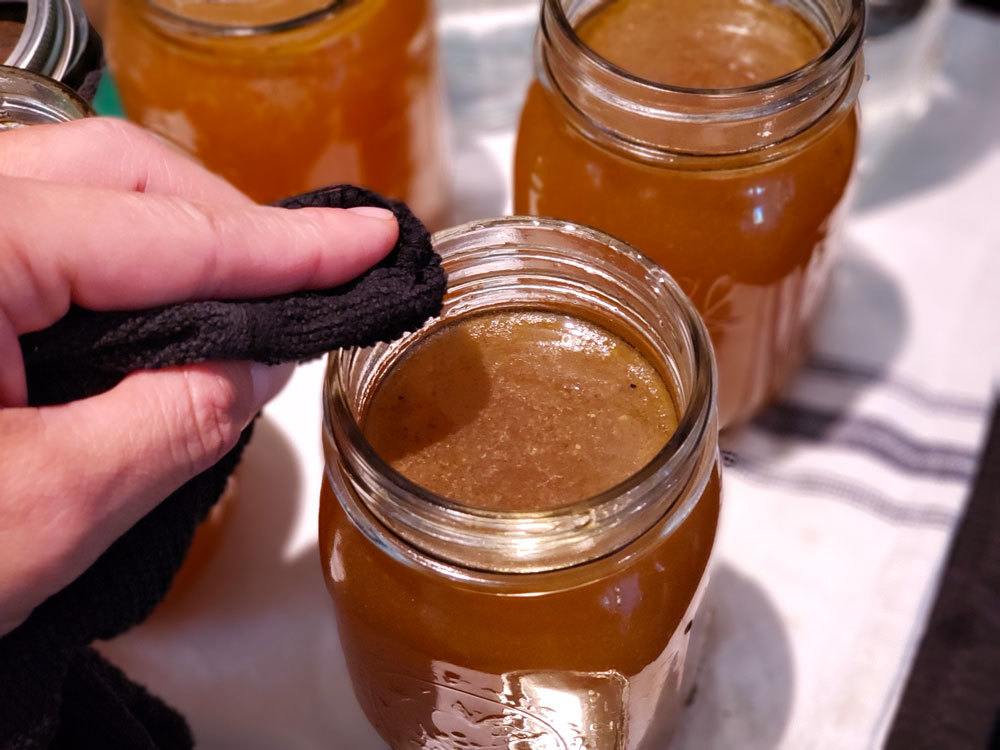
Wipe down the rims of your jars with a clean towel dampened with vinegar to ensure a proper seal is achieved.

Add lids and canning bands and tighten to fingertip tight. This is just how tight you can get the jars using only your fingertips, not your whole hand.
Use caution when grabbing your jars at this point as they're quite hot having been filled with boiling bone broth.

Using a jar lifter (another canning tool in the canning supplies kit!), carefully lift each jar into the pressure canner.
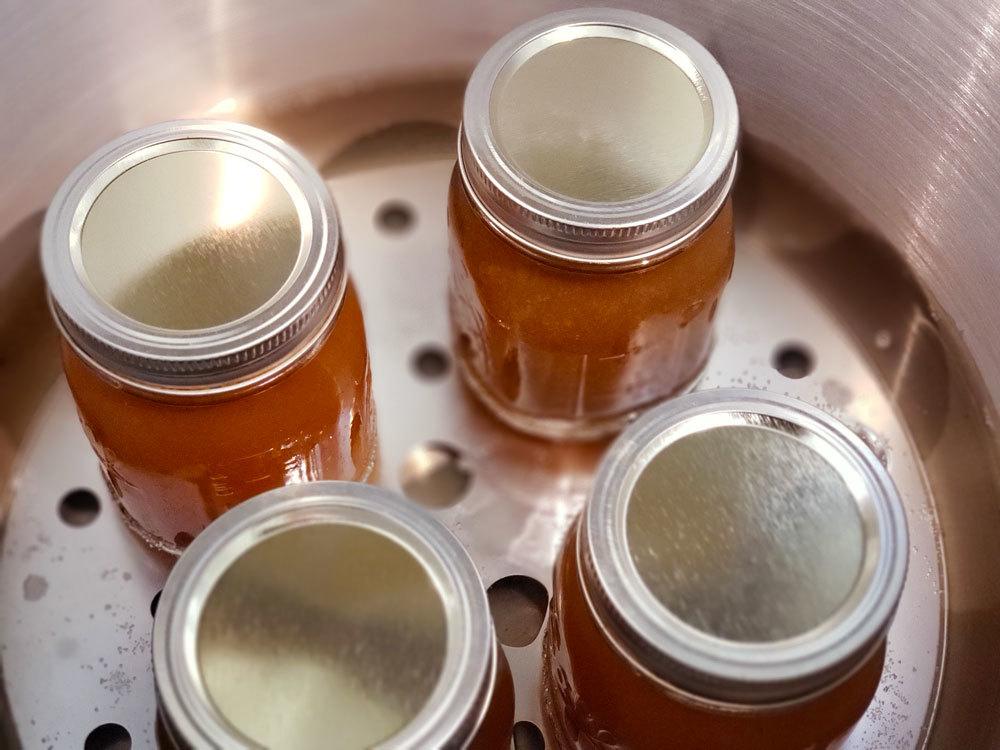
Cover and secure the canner following the instructions for your specific model, turn heat up to high, and allow the pot to come up to a boil.
You'll soon notice steam coming out of the pressure release vent, allow the steam to continue to escape through the vent for 10 minutes.
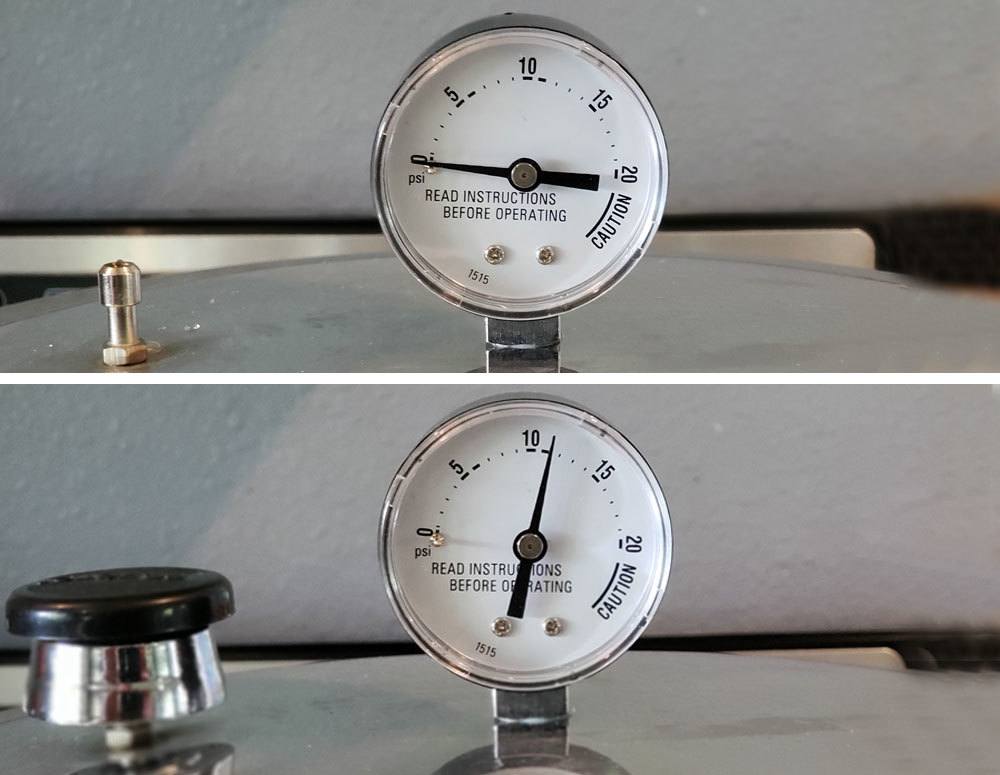
Then, place the rocker or weight over the vent and allow the pressure to come up to 11 pounds for dial gauge for altitudes 2,000 feet above sea level or lower, for every additional 2,000 feet above sea level increase by 1 extra pound. Can at 10 pounds of pressure using a weighted gauge for altitudes 1,000 feet above sea level or lower, if altitude is 1,001 feet above sea level increase to 15 pounds of pressure for weighted gauge.
Watch closely as you may need to adjust your heat if the pressure continues to climb higher than 11 pounds. But don't allow the pressure to dip below 11 pounds or you'll need to re-start your timer.
Keep at 11 pounds of pressure (pressure varies for higher altitudes above 1,001 feet – check your pressure canner guide book for specifics for your altitude) for the appropriate time depending on the size of your jars.
- Pint jars: process for 20 minutes
- Quart jars: process for 25 minutes
Once the processing time is up, turn off the heat and allow the pressure to come down naturally. This can take anywhere from 30-60 minutes.
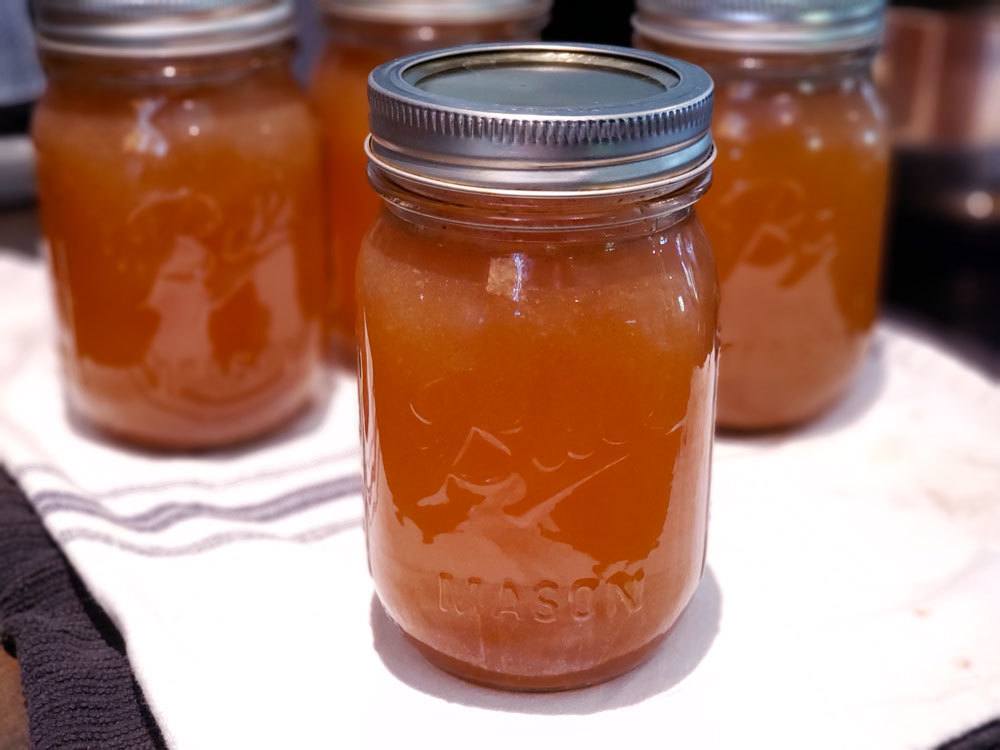
Carefully remove the lid, lifting away from you so you don't get burned by the steam. Remove jars using the jar lifter and let rest on a towel. Don't place jars directly onto a cold counter as this could cause the hot jars to break or crack.
How to Pressure Can Bone Broth
Making homemade bone broth is a delicious, healthy, and frugal way to extend the value of a whole chicken. Learning how to can bone broth at home means you'll always have broth on hand for soups, stews, gravies, and sauces. Not to mention you'll be saving about $4 a quart!
Prep Time 15 mins
Active Time 25 mins
Passive Time 1 hr 25 mins
Total Time 2 hrs 5 mins
Course: Soup
Cuisine: American
Keyword: canned bone broth, pressure canning
Yield: 5 pint jars
Cost: $0
-
Pressure Canner
- 5 pint mason jars and lids (or quart jars)
- 5 tsp sea salt
- 10 cups bone broth chilled and fat removed
-
Remove fat from chilled bone broth and bring broth to a boil in a large pot.
-
Wash all jars in hot soapy water, checking rims for chips or nicks.
-
Add water to your pressure canner (I fill mine to the lowest line on the inside of the pot).
-
Fill clean jars with hot water and set aside.
-
Once your broth has come to a boil, take one jar at a time, dump the hot water out and add 1/2-1 teaspoon sea salt (optional), then fill with broth leaving 1-inch head-space.
-
Wipe down rims of jars with a clean, damp towel.
-
Add lids and canning bands and tighten to fingertip tight.
-
Place jars into the pressure canner. Then cover and secure the canner following the instructions for your specific model, turn heat up to high, and allow the pot to come up to a boil.
-
Allow the steam to vent through the pressure valve for 10 minutes.
-
Place the rocker or weight over the vent and allow the pressure to come up to 11 pounds for dial gauge for altitudes 2,000 feet above sea level or lower for every additional 2,000 feet above sea level increase by 1 extra pound . Can at 10 pounds of pressure using a weighted gauge for altitudes 1,000 feet above sea level or lower, if altitude is 1,001 feet above sea level increase to 15 pounds of pressure for weighted gauge.
-
Process at 11 pounds of pressure for 20-25 minutes (20 minutes for pint size jars, 25 minutes for quart-size jars).
-
Turn off heat and allow pressure to come down naturally (about 30-60 minutes).
-
Carefully remove jars from pressure canner and place onto a towel on the counter.
-
Allow jars to cool for 24 hours. Remove canning bands and check for proper seal.
-
If any jars didn't seal correctly, move them to the refrigerator and use within a week.
- It's important to read through your pressure canning manual BEFORE using it for the first time so you're acquainted with how it functions and all the parts work (yours may be slightly different than the one I'm using in this video).
- Be sure you follow the proper cooking time for your size jars.
- Always process bone broth starting with boiling broth, anything colder may not process at safe canning temperatures.
Frequently Asked Questions for Canning Broth
Water bath or pressure canner?
You might be wondering if you can water bath can bone broth. The answer is NO, you must use a pressure canner when canning bone broth. Water bath canning simply does not reach a high enough temperature to get the broth to a safe level to be shelf-stable.
What is head-space and is it important?
Leaving the proper head-space is very important when pressure canning. If you leave too little head-space, the broth may push up and out of the jar causing a faulty seal. Too much head-space and you may end up with discolored food at the top of your jar, or your jar may not seal because there may not be enough processing time to push all the air up and out of the jar.
Can I re-use canning lids?
The answer is yes and no. If you're using something like a Tattler re-usable canning lid, then you will be able to get more than one use out of your lid. However, those re-usable lids can be cost-prohibitive for some.
If you're using a metal canning lid, you can only use them one time for canning purposes. To save money, I like to get myself an entire sleeve of canning lids from Lehman's. You know you're always getting a great deal when you buy in bulk! The regular-mouth lids are a bit cheaper than the wide-mouth, so I like to use regular-mouth jars for broth.
What if my jar doesn't seal?
If your canned bone broth doesn't seal, simply place it in the refrigerator and use the broth within a week. Sometimes this happens for one reason or another, it's nothing to be dismayed about, the broth is not ruined and can still be enjoyed within the week.
Learn how to pressure can safely to prepare healthy shelf-stable meals for your family in my free 4 part video series here!
How Long Will Water Bath Canned Chicken Stock Ast
Source: https://melissaknorris.com/how-to-can-bone-broth-at-home/
0 Response to "How Long Will Water Bath Canned Chicken Stock Ast"
Post a Comment